Ks0008 keyestudio Joystick Module: Difference between revisions
Jump to navigation
Jump to search
Keyestudio (talk | contribs) |
Keyestudio (talk | contribs) |
||
| (13 intermediate revisions by the same user not shown) | |||
| Line 1: | Line 1: | ||
<br> | |||
==Introduction== | ==Introduction== | ||
Lots of robot projects need joystick. | Lots of robot projects need joystick. This module provides an affordable solution. By simply connecting to two analog inputs, the robot is at your commands with X, Y control. <br> | ||
<br>[[File: | It also has a switch that is connected to a digital pin. This joystick module can be easily connected to Arduino by IO Shield. | ||
<br>[[File:Ks0008_joystick.png|600px|frameless|thumb]]<br> | |||
<br> | |||
==Specification== | ==Specification== | ||
*Supply Voltage: 3.3V to 5V | *Supply Voltage: 3.3V to 5V | ||
*Interface: Analog x2, Digital x1 | *Interface: Analog x2, Digital x1 | ||
<br> | |||
==Connection Diagram == | ==Connection Diagram == | ||
<br>[[File:Ks0008-1.png|700px|frameless|thumb]]<br> | |||
<br> | <br> | ||
==Sample Code == | ==Sample Code == | ||
<pre> | <pre> | ||
| Line 37: | Line 38: | ||
Serial.println(z ,DEC); | Serial.println(z ,DEC); | ||
delay(100); | delay(100); | ||
}</pre> | } | ||
</pre> | |||
<br> | |||
==Result== | |||
<br>[[File:36.png|600px|frameless|thumb]]<br> | |||
Wiring well and uploading the code, open the serial monitor and set the baud rate to 9600, push the joystick, you will see the value shown below. | |||
<br>[[File:Joystick 1.jpg|600px|frameless|thumb]]<br> | |||
<br> | |||
==Resources == | ==Resources == | ||
'''Video''' | '''Video''' <br> | ||
http://video.keyestudio.com/ks0008/ | |||
'''PDF and Code''' <br> | |||
https://fs.keyestudio.com/KS0008 | |||
<br> | |||
==Get One Now == | ==Get One Now == | ||
*[https://www.keyestudio.com/free-shipping-keyestudio-ps2-joystick-module-compatible-with-arduino-p0468-p0468.html '''Get From Official Website''' ] | |||
''' | *[https://www.aliexpress.com/store/product/Free-shipping-Dual-axis-XY-Joystick-module-for-Arduino/1452162_2053015123.html?spm=2114.12010615.8148356.1.41412b93TeG5T7 '''From Aliexpress'''] | ||
[[Category: | <br> | ||
[[Category: Module]] | |||
Latest revision as of 11:18, 8 January 2021
Introduction
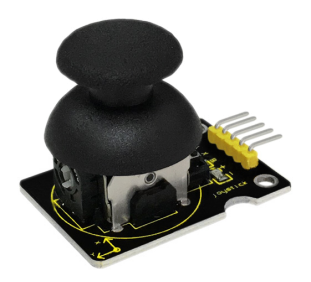
Lots of robot projects need joystick. This module provides an affordable solution. By simply connecting to two analog inputs, the robot is at your commands with X, Y control.
It also has a switch that is connected to a digital pin. This joystick module can be easily connected to Arduino by IO Shield.

Specification
- Supply Voltage: 3.3V to 5V
- Interface: Analog x2, Digital x1
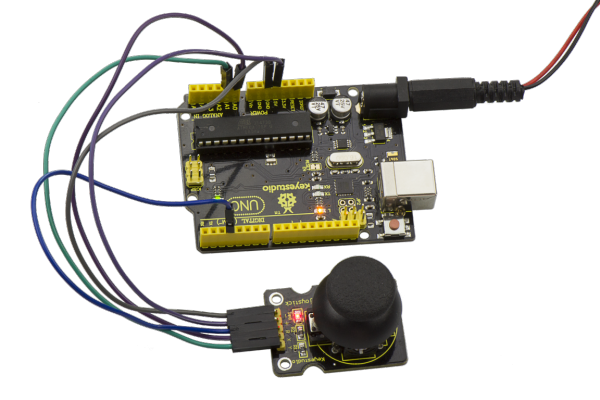
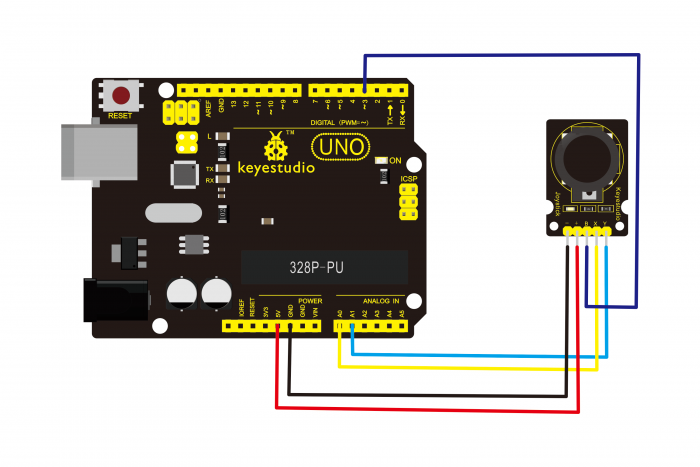
Connection Diagram
Sample Code
int JoyStick_X = 0; //x
int JoyStick_Y = 1; //y
int JoyStick_Z = 3; //key
  void setup()
{
  pinMode(JoyStick_Z, INPUT);
  Serial.begin(9600); // 9600 bps
}
void loop()
{
  int x,y,z;
  x=analogRead(JoyStick_X);
  y=analogRead(JoyStick_Y);
  z=digitalRead(JoyStick_Z);
  Serial.print(x ,DEC);
  Serial.print(",");
  Serial.print(y ,DEC);
  Serial.print(",");
  Serial.println(z ,DEC);
  delay(100);
}
Result

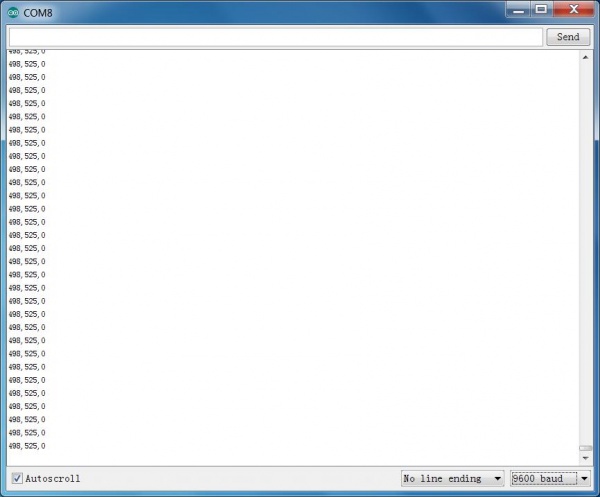
Wiring well and uploading the code, open the serial monitor and set the baud rate to 9600, push the joystick, you will see the value shown below.
Resources
Video
http://video.keyestudio.com/ks0008/
PDF and Code
https://fs.keyestudio.com/KS0008
Get One Now

