Ks0117 keyestudio EASY plug Vibration Sensor Module: Difference between revisions
Keyestudio (talk | contribs) No edit summary |
Keyestudio (talk | contribs) |
||
| Line 71: | Line 71: | ||
==Buy from == | ==Buy from == | ||
* | *[https://www.keyestudio.com/new-keyestudio-rj11-easy-plug-vibration-sensor-module-for-arduino-steam-p0094-p0094.html '''Official Website''' ] | ||
*[https://www.aliexpress.com/store/product/New-Keyestudio-EASY-plug-Vibration-Sensor-module-for-Arduino/1452162_32643679818.html?spm=2114.12010612.8148356.28.14e424eaaJLgrn Shop on aliexpress ] | *[https://www.aliexpress.com/store/product/New-Keyestudio-EASY-plug-Vibration-Sensor-module-for-Arduino/1452162_32643679818.html?spm=2114.12010612.8148356.28.14e424eaaJLgrn Shop on aliexpress ] | ||
Revision as of 10:05, 7 May 2019
Introduction
What's the simplest way to check vibration with Arduino? Well, use a vibration sensor from keyestudio.
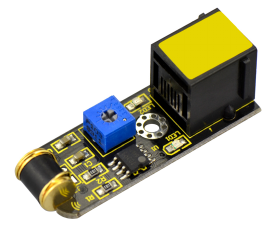
You can directly connect it to our EASY Plug control board with only one cable. Just vibrate this sensor, Arduino can receive a digital signal. It is easy to count and program in Arduino.
It also comes with a potentiometer for you to adjust the sensitivity.
In spite of simplicity, you can make full use of it with creative thinking, step counting, and crash warning light, etc.
Note: this module should be used together with EASY plug control board.
Parameters
- Sensor type: Digital
- Supply Voltage: 3.3V to 5V
- High quality connector
- Adjustable sensitivity via a potentiometer
Technical Details
- Dimensions: 46mm*16.7mm*17.6mm
- Weight: 6.2g
Connect It Up
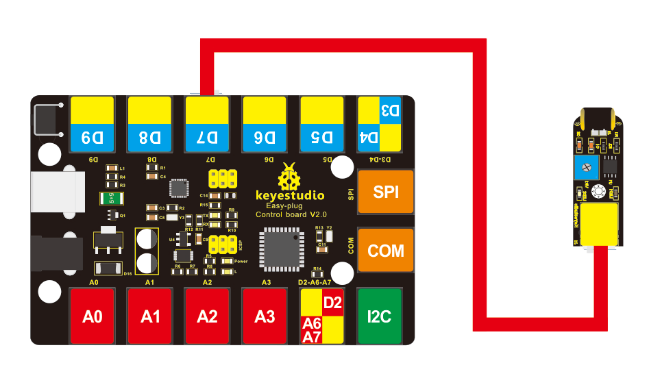
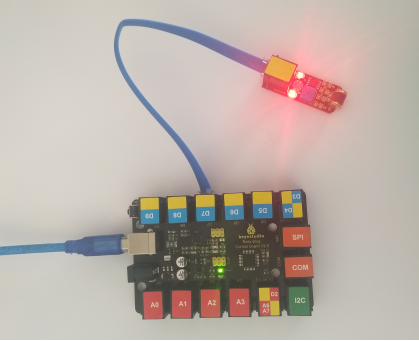
Connect the EASY Plug vibration sensor to control board using an RJ11 cable. Then connect the control board to your PC with a USB cable.

Upload the Code
Copy and paste below code to Arduino IDE and upload.
#define SensorLED 13
#define SensorINPUT 7  //Connect the sensor to digital Pin 7 which is Interrupt 1.
unsigned char state = 0;
void setup()
{
 pinMode(SensorLED, OUTPUT);
 pinMode(SensorINPUT, INPUT);
 attachInterrupt(1, blink, FALLING);// Trigger the blink function when the falling edge is detected
 }
void loop()
{  if(state!=0)
     {
       state = 0;
       digitalWrite(SensorLED,HIGH);
       delay(500);
     }
     else
       digitalWrite(SensorLED,LOW);
}
void blink()//Interrupts function
{  state++;
}
What You Should See
Done uploading the code, just vibrate the sensor, Arduino can receive a digital signal, and led will be turned on. If isn’t, you are able to adjust the sensitivity by a potentiometer.

Resources
Download the PDF:
https://drive.google.com/open?id=1ggDlubS52kEVdIDCA5jAXhc0yks437FK
Download the Code:
https://drive.google.com/open?id=1Gna-7O3atCG5OTjpQqog0pQtZEGKvH-k
